📋 Official Technician SOP
AC Technician Job Process Checklist
Standard Operating Procedure (SOP) detailing the 5 Essential Steps for Karigar Ji field technicians, complete with step-by-step checkboxes and diagnostic infographics.
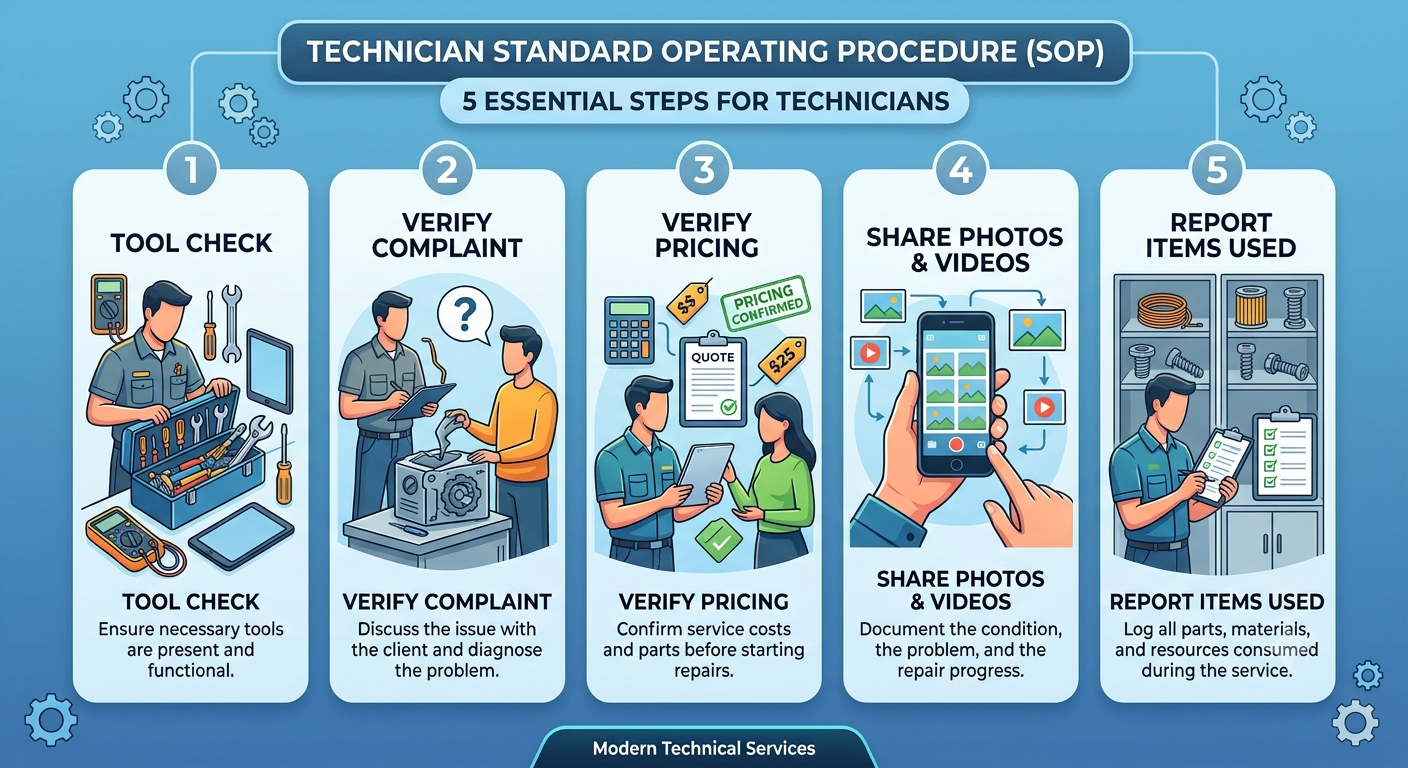
🗺️ Master SOP Visual Blueprint
5 Essential Steps
Tap or scroll down for detailed step-by-step checklist
01
Tool Check
Ensure all necessary tools are present, calibrated, and functional prior to leaving for the job site.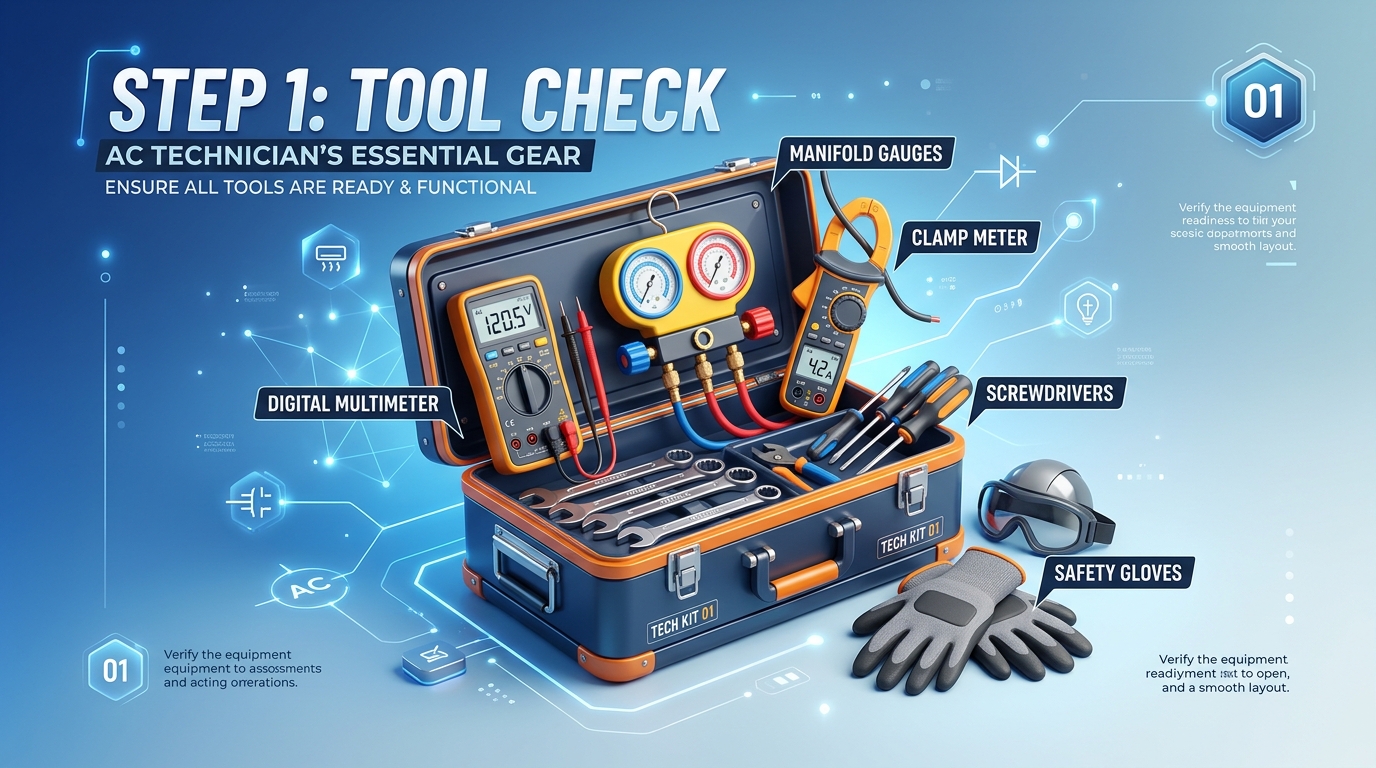
Tool Check & Functional Verification
Ensure all necessary repair tools (multimeter, clamp meter, manifold pressure gauges, wrenches, high-pressure jet pump, vacuum pump, and safety PPE gear) are present, functional, and operational.
High Importance
02
Verify Complaint
Discuss the issue with the client, verify remote settings, and systematically diagnose the problem.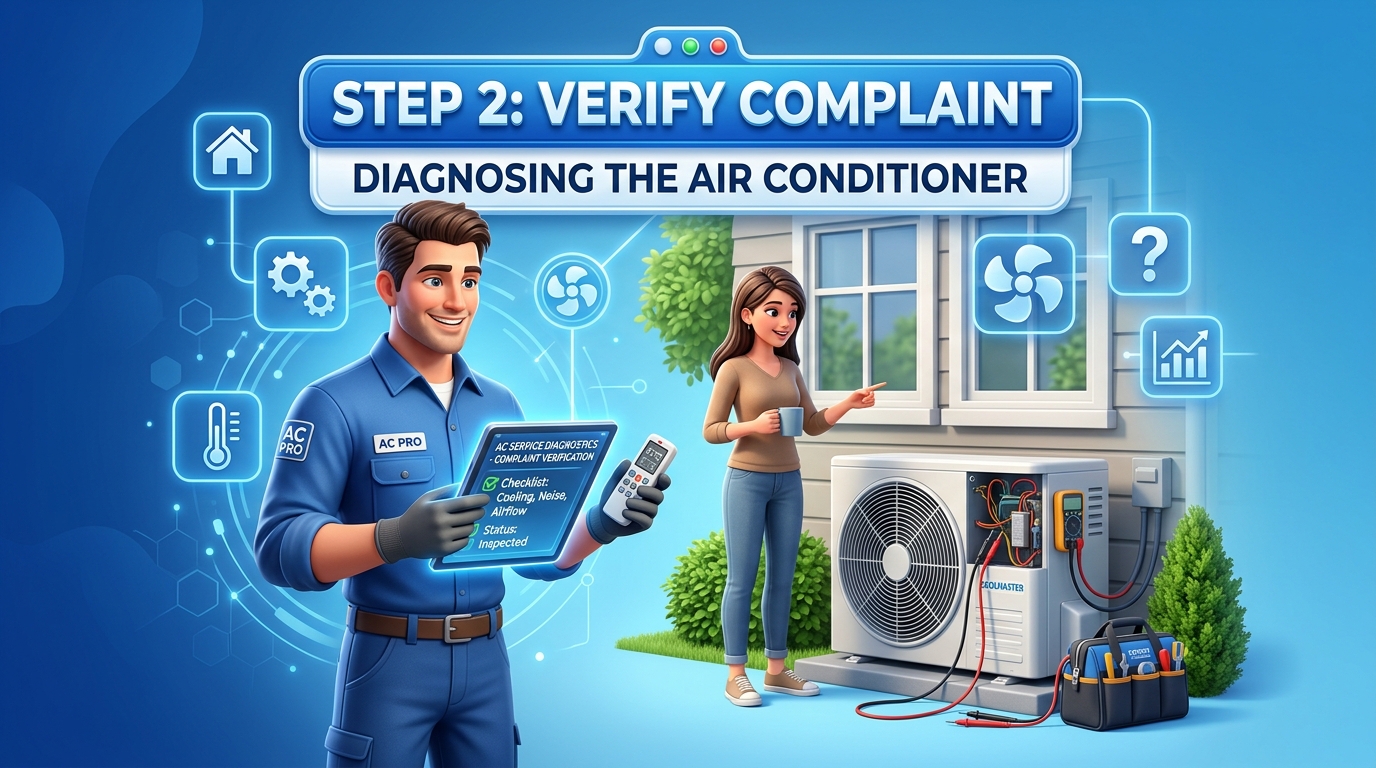
Customer Symptom Interview
Greet the client professionally. Ask detailed questions about reported symptoms (e.g. low cooling, water leakage inside room, strange noise, or power tripping).
High Importance
AC Remote & Operational Mode Verification
Check the remote control display. Ensure mode is set to "COOL", target temperature is set low (16°C–24°C), and fan speed is on HIGH.
Medium
Initial Diagnostic Turn-On Test
Turn on the AC unit. Observe swing louvers, indoor blower airflow, outdoor compressor startup sound, electrical voltage stability, and PCB error codes.
High Importance
03
Verify Pricing
Report diagnostic findings to the office. Backend staff discusses and fixes pricing directly with the customer.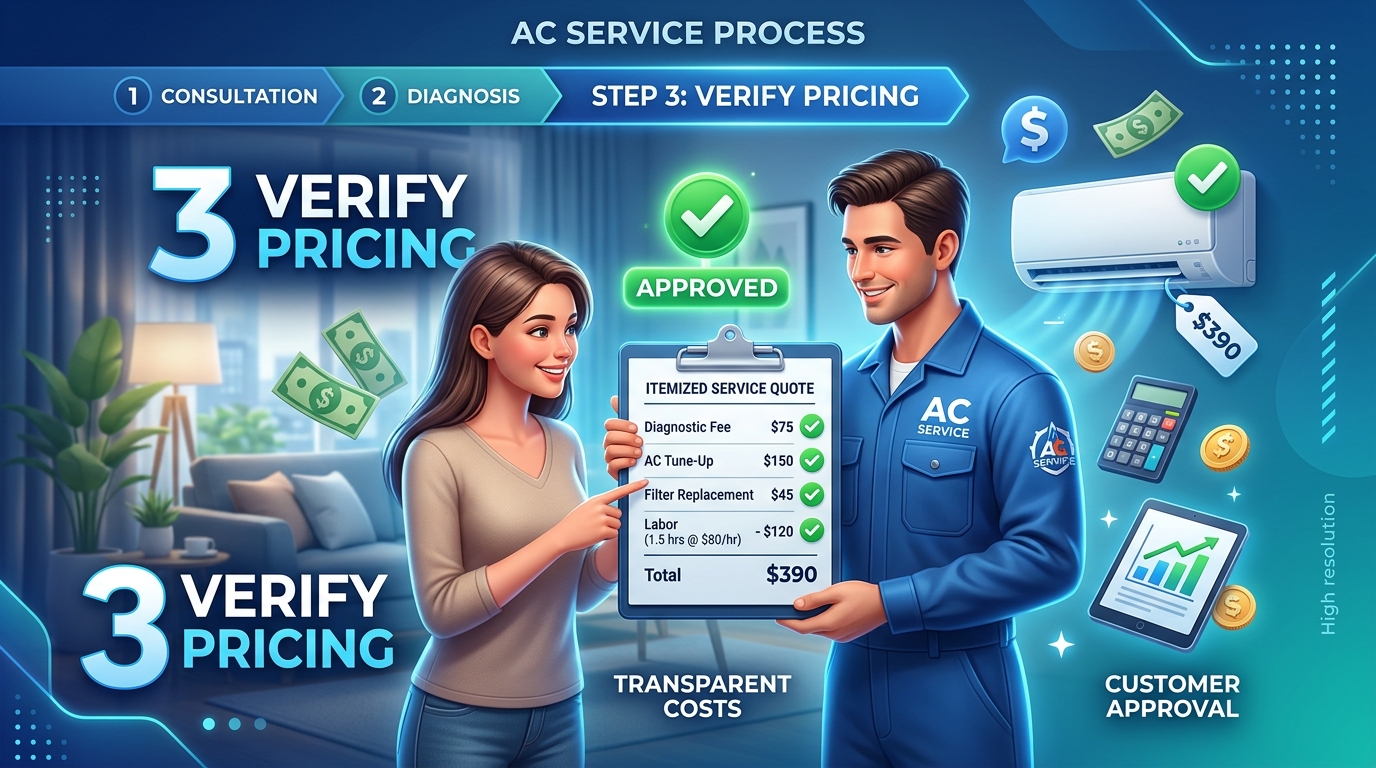
Report Diagnosis to Office & Await Price Approval
Technician must report full diagnostic findings to the backend office staff. Office staff will discuss with the customer and fix pricing directly. Technician continues work only after office approval.
High Importance
04
Share Photos & Videos
Document the initial AC condition, diagnostic fault evidence, and final repair quality with visual media.
Capture Pre-Service Unit Condition & Temperature
Take clear photos/videos showing the initial state of the AC, current grill outlet temperature reading, and any pre-existing scratches or panel cracks.
High Importance
Document Diagnostic & Fault Evidence Media
Photograph specific defect points (e.g., swollen/burnt capacitor, oil spots on copper joints indicating gas leak, clogged evaporator fins).
High Importance
Record Post-Service Cooling & Handover Proof Video
Record a 15-second video demonstrating restored cooling airflow, clean coils, smooth drain flow, and clean customer room workspace.
High Importance
05
Report Items Used
Log all spare parts, copper pipes, insulation, and refrigerant gas consumed during the service.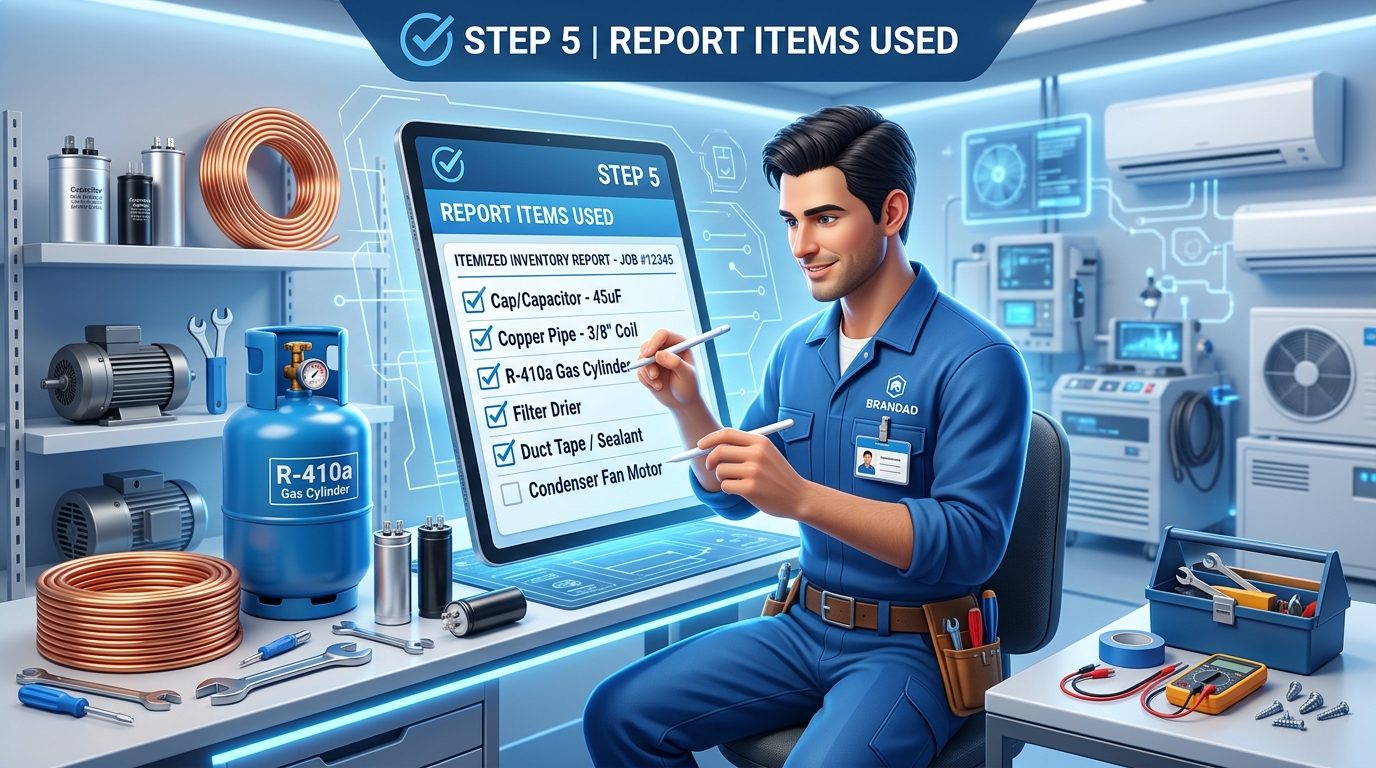
Log Spare Parts & Hardware Materials Consumed
Record exact specs of all installed parts (e.g., 45µF running capacitor, 3/8" copper pipe length, flare nuts, insulation tape, relay).
High Importance
Record Refrigerant Gas Quantity Added
Log the exact weight in grams of R32 / R410A / R22 refrigerant charged into the system during gas topping or full refilling.
High Importance